There are a huge variety of ideas for an accent wall in your home. You could go for wainscoting, board and batten, painting it a contrast color or even making built in shelving. We decided to go with a rustic look for our accent wall. Most of our house is dark colored furniture and flooring, with a traditional color schemes. We have wanted to change our décor and add some unique touches. We have owned our home for almost 8 years, and it has changed SO MANY TIMES. If you are anything like me, the couch, TV and furniture have been redecorated two times a year. With our new stone accent wall the TV will have to remain on its wall but there are still endless options for décor.
Lets take a look into the progression and completion of the project, and maybe you can get inspired or learn some tips from our experience.
We purchased all of our supplies at the Lowes Home Improvement store. Luckily it is right around the corner from our house, so when we need to make multiple trips it doesn’t take up too much of our time.

When I was researching stone veneer for the accent wall, we decided with the brand air stone veneer. It is made with recycled materials and resembles natural stone. The air stone manufacturer website has all the beneficial information and answers to many questions. I recommend always reading reviews, watching videos and making sure this is the correct product for you before getting started. You can find more information on Air Stone Website.
The air stone comes in three different color combos. We decided on “spring creek” to match with our home. At first we estimated only needing about 5 boxes because we were only going to do the top of the wall and have chair rail underneath. We ended up using almost 14 boxes of air stone ($59.97 per box, 8 sq. feet per box) and doing the entire wall and under the kitchen bar.

The boxes are separated into two categories, one is for corners and the other is the filler stone for flat wall. At first we made the mistake of purchasing all corner boxes. The corner boxes do still have flat pieces in them (24 corner 24 flat) but it was not enough to fill the wall in the middle and make it all the way across under the bar top. We had to go back to Lowes to buy flat piece boxes.

The adhesive we used is a great value. $15.97 a tub and it covers about 30 sq. feet. We used about 5 tubs of adhesive. The adhesive looks like whipped cream cheese and should glide lightly on the stones. The website will say to apply the adhesive like icing but it is important not to apply too much adhesive. Make sure it is applied only to the back of the stone and won’t be too much to overflow or spew out the sides of the stone once it is applied. The adhesive dries really fast. If you need to make a example pattern on the floor before sticking to the wall, that will help, once the stone is up, it will be dry and stuck to the wall within 10 minutes.

In the tutorial video on the air stone website you will see a woman applying the stones in a carpeted room with no gloves, no power saw and with simple ease. Even with how organized and clean I am with projects. I want to tell you it is nothing like that video! Put down a drop cloth under the adhesive bucket and under the boxes as you are opening them. The stones are very dusty, and some are cracked. There will be debris on the floor and you will get messy with the adhesive, so wear gloves or keep a wet paper towel close by for mistakes.
Now for the cutting, the website suggested using a hack saw for stress free, mess free cutting. This is not accurate. Again the air stone is very dusty. Cut the rocks outside. If you must use a hacksaw be gentle with the rocks so that you do not chip any of the corners. We used a power table saw with a masonry blade. This was easier than the manual work of a hacksaw because we needed many precise cuts for the corners and matching up stones in the middle of the wall. Chipping of the corners is also common if you are not careful. A tip my husband recommends is cutting half the stone then flipping the stone and cutting the other half. This will help prevent chipping of the stones.

We measured and left spots with no stone for the electrical outlets and for where the TV will be mounted. Use the level if you need to, to ensure the rocks are on the same line and level all the way across the wall. Once you get the hang of it the wall will be done in no time. Our home has rounded corners, so we butted up the rounded corners of the corner stone pieces to have a seamless line all the way up the wall.

Of course the top of our wall was angled so my husband really had to bring out his cutting skills to match up the stones perfectly. He never fails me on these projects and is amazing with his tools. I think this is definetly a two person project. It is helpful to have one person apply the stones and the other cutting and preparing the next ones to go up.

Here is the completed stone veneer accent wall. I still have decorating to do and painting all the baseboards in the house a pretty gloss white.

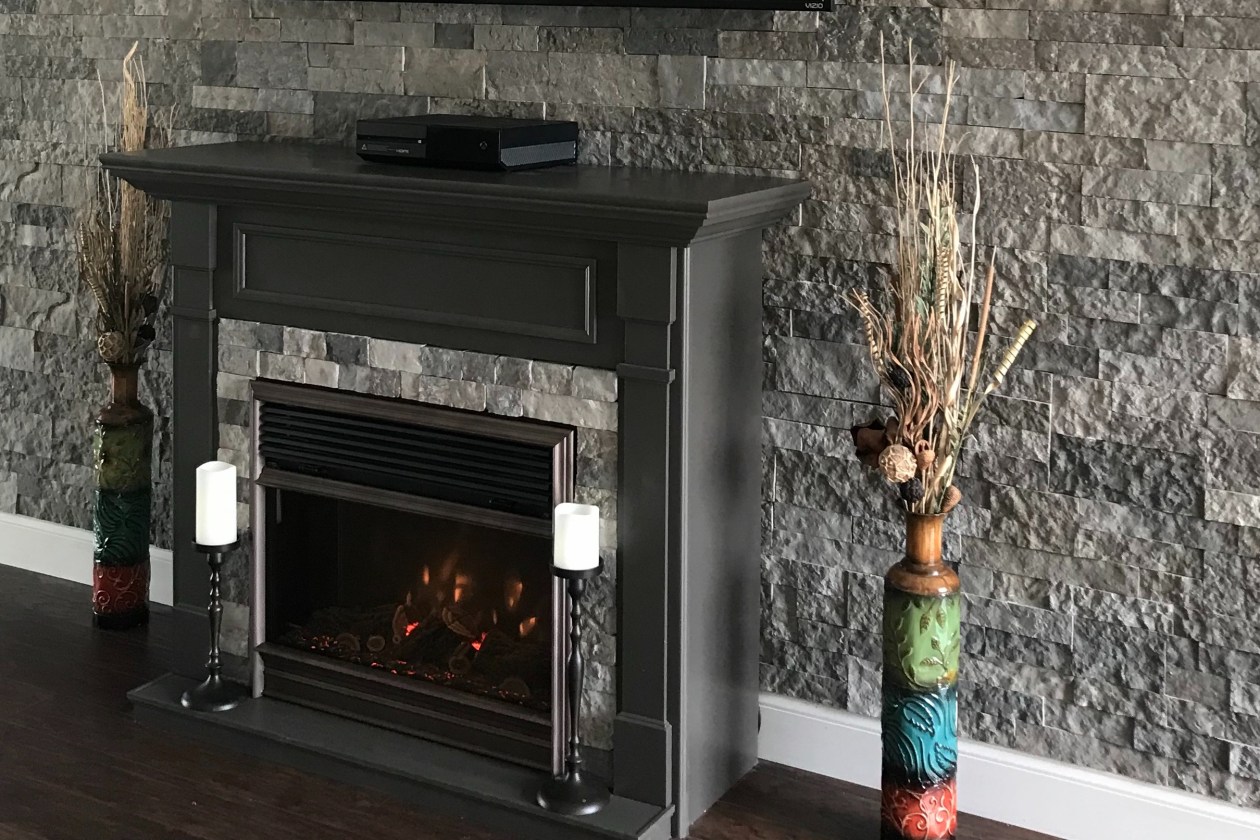
As a bonus small project we added some of the leftover stones to my electic fireplace to tie everything in together.
Thank you for stopping by to get inspired for your next home project. I would love to hear about your experiences and see pictures of your home.
Follow my socials for more pictures @NlutherRealtor
#Heartintoyourhome

-Niki Luther
