So there is this MAGICAL place in Jacksonville, Florida called Eco Relics. It is a massive warehouse with architectural salvage, reclaimed and discount building materials and antiques. Ever since my husband and I came across this place for wood for his art frames, I have been inspired to repurpose items to use in our home.

If you are in the area, I highly suggest heading over to Eco Relics to walk around and get some inspiration. You will be surprised at all the unique items they have. They also have some very sweet animals we always have to stop and say hello to. This is a picture of Penelope and their cat Eco. We also saw their shop rabbits and a sweet dog named T-bone!
Picking out our window was not an easy task, they have dozens of old windows. They arrange them by how many window panes they have and the size of the windows. They are all reasonably priced.
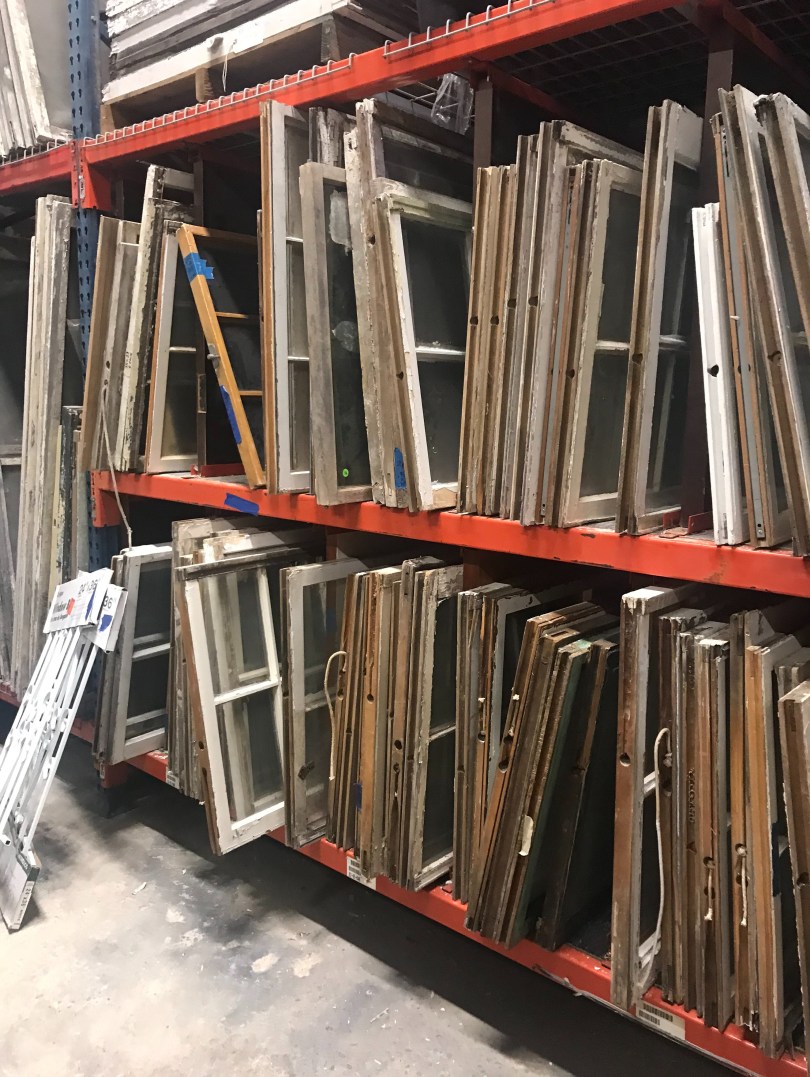
At first I had the idea of buying two matching windows and restoring two of them. We looked through many of the windows and pulled them all down looking at the condition of them. I couldn’t find two that were similar enough to put side by side for my project. Some of them had some missing or broken glass, and some had some wood rot that didn’t look like something I wanted to have inside the house. I ended up picking up one large window (36X42). The front of the window was in better condition than the back side, but the glass was all intact and it looked like it would sustain some sanding and painting. You can see from the picture below some of the wood was not in the best shape but I used the other side. This window was only $55!!!!

The whole ride home I was curious where the window came from, how old it was, all the people who looked inside and out of it. It is refreshing to know that something as simple as a window has history!!
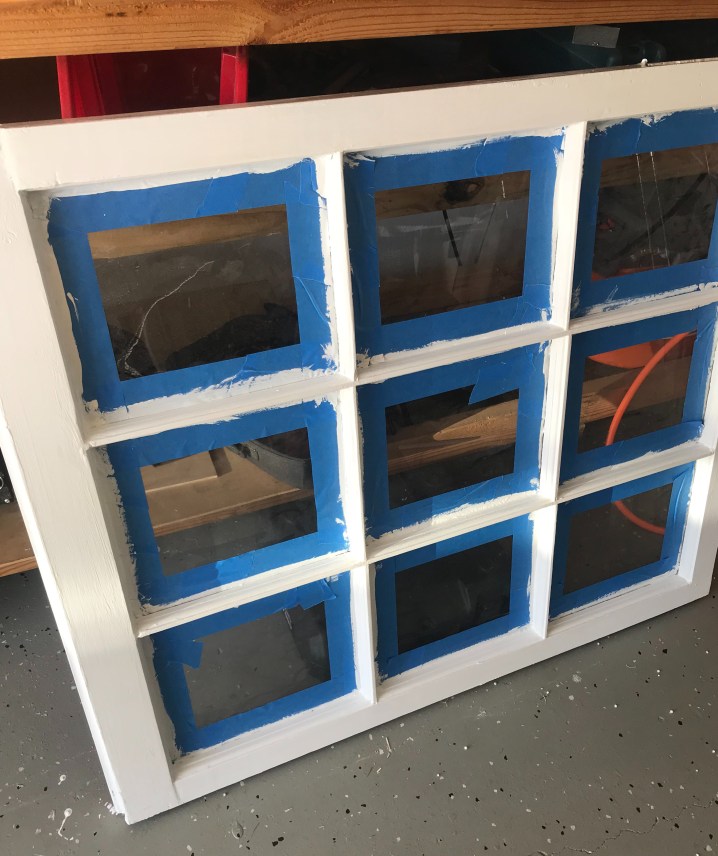
My first steps for the window were taping the inside glass to prep it for sanding and painting. The paint that I set aside is this white paint that I used for the trim throughout the home. I know the trend is to paint vintage items funky colors and make them stand out. I seem to have some trouble following trends! I like to keep things classic.
Sanding something this old and fragile must be done with care. I used a variety of sandpaper. Each one has a different texture and is used for different purposes. I used the most gentle grit on the inside wooden dividers near the glass. Some of these were already splintering and showing their age. I then tested a heavier grit on the outside frame of the window. This is where you can see discoloration, a couple of nail holes that needed to be patched up and some other imperfections. I made the window frames very smooth so that the paint would go on flawlessly. I did not repair the wood, I left the character of the splintering and dents. Once the paint was all done, I peeled off the tape and cleaned the glass.
To hang the frame on the wall we used these picture hangers. I made sure to center it on the wall and level it out, we put the screws in studs in the wall because the window is pretty heavy.
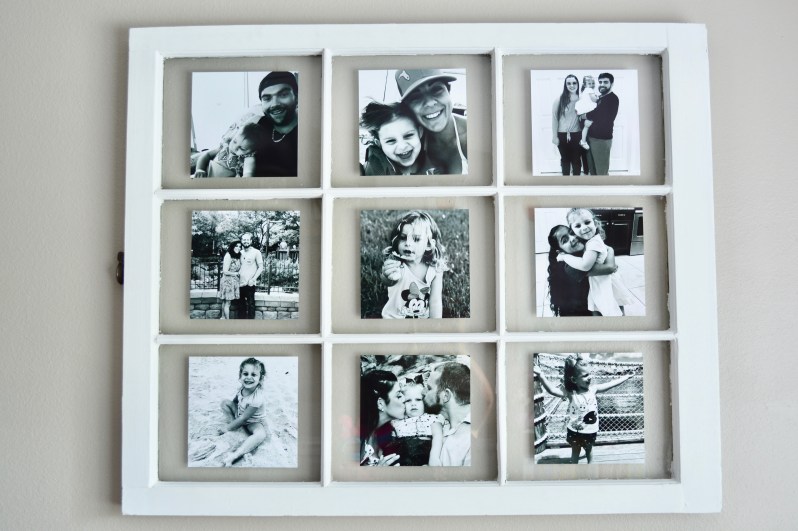
I decided to put B&W photos in the frame. I printed them 8X8 so that you could still see the color of the wall and the accent of the clear glass around the photos. I purchased the photos for $3.99 a piece with an awesome coupon code from Walgreens Photo. The pictures are printed the SAME DAY at your local Walgreens. I have been doing this for years and I am always pleased with the service!
Here is the finished restored window made into a picture frame for our playroom!


Thank you so much for taking the time to read my article about our fun project. If you replicate this project I would love to see it. Please comment your pictures below or send me a message. I would love to hear your experiences about Eco Relics if you take a visit.

-Niki Luther
